pornjk, pornsam, xpornplease, joyporn, pornpk, foxporn, porncuze, porn110, porn120, oiporn, pornthx, blueporn, roxporn, silverporn, porn700, porn10, porn40, porn900

Author Archive for brunosdreamPage 10 of 29

Butternut Squash Gelato w/ Candied Pecans


A tasty seasonal flavor that is a yummy ending to your holiday meal! The pecans were given to me by a neighbor whose parents have pecan trees in their back yard in southern Missouri.

Butternut Squash Gelato w/ Candied Pecans

Ingredients:

1 quart half & half

6 egg yolks

1 cup sugar

1 cup candied pecans (see procedure below)

2 cups roasted butternut squash pulp (see procedure below) 

Procedure:

For candied pecans:

1) Roast pecans in 300 degree F oven for 20 to 25 minutes, then let cool

2) Combine 1 cup sugar and 1/8 cup water in saucepan

3) Boil to 333-335 degrees F (sugar will be amber at this point), occasionally brushing sides of pan w/ water to prevent crystals from forming, remove from heat immediately then add pecans and stir until they are well coated

4) Pour onto baking sheet lined w/ parchment paper and quickly separate pecan halves w/ 2 forks (I began using my fingers because using the forks was too slow to separate the pecans before the sugar hardened)

5) When cool, roughly chop w/ a large knife or break pecans into large pieces w/ fingers; place in an airtight container

For roasted butternut squash:

1) Cut butternut squash in half lengthwise and scrape out seeds

2) Line a sheet pan w/ parchment paper and place squash, cut side down, on pan

3) Roast squash at 425 degrees F for 50 – 60 minutes until pulp is soft

4) Let cool, then scoop out pulp

For gelato:

1) In a metal bowl, whisk egg yolks and sugar until mixture becomes smooth and pale yellow

2) Place half & half in a heavy pot and heat until scalded

3) Very slowly whisk half & half into egg/sugar mixture so as not to curdle the mixture

4) Place bowl w/ mixture over a pot of simmering water, stirring continuously w/ a heat resistant spatula until mixture coats the back of a metal spoon (do not let mixture exceed 170 degrees F to prevent curdling), then quickly place bowl in an ice bath to stop the cooking process and promote rapid cooling

5) In a food processor, pulse 3 cups of the gelato mixture into the butternut squash puree to thin, then stir puree into the remaining gelato mixture, blending well, and chill in fridge for at least 4 hours or overnight 

6) Churn mixture in ice cream maker according to manufacturer’s instructions adding the candied pecans when mixture starts to freeze

7) Pour gelato into a 2 quart plastic container, stir to evenly distribute the candied pecans, then place a piece of parchment paper cut to size on the surface of gelato (this will reduce air exposure and prevent ice crystals from forming on the surface of the gelato), seal container and freeze until firm 

Yield: Approx. 1 1/2 quarts 


May 2014 bring you good fortune… and good eats!!

Bruno

Cornmeal Bread 2 Ways (Boule and Rolls)

This is an easy bread to make for your holiday festivities and it tastes great too! It goes well w/ roasted turkey, vegetables, pasta or whatever you’re cooking up. The cornmeal adds a nice texture and flavor to ordinary rolls or a boule. I like to slice the boule, wrap it, then put it in the freezer. That way it stays fresh and is readily available when I need a couple of pieces of bread to toast.

Cornmeal Bread 2 Ways:

Ingredients:

1 cup cornmeal

3 1/2 cups all purpose flour

1/4 cup olive oil

1 1/4 cups water

2 teaspoons salt

1 tablespoon dry active yeast

 additional cornmeal for dusting pizza peel

Procedure:

1) Place yeast in a large bowl and pour 1/4 cup tepid water over the yeast; let sit until it becomes foamy (about 5 minutes)

2) In a separate bowl mix together the flour, cornmeal and salt

3) Add olive oil and remaining 1 1/4 cups tepid water to the yeast

4) Slowly add the flour mixture to the yeast while using your free hand to incorporate it w/ the yeast

5) Place the dough on a floured surface and knead for 8 to 10 minutes (add more flour a little bit at a time if dough is too sticky)

6) Form dough into a ball and place back into the large bowl (dust the bottom of the bowl w/ flour before placing dough into it); dust top of dough ball w/ flour and cover bowl w/ plastic wrap (I use a shower cap that I got from a hotel – it fits snugly over the bowl)

7) Let dough ferment (i.e., first rise) for 1 1/2 hours at room temperature (if your kitchen is too cold, place bowl in unlit oven w/ the light on – the temperature is usually 70 degrees F. During the winter months, let dough rise for 1 3/4 hours). The dough should have at least doubled in size when ready to shape

8) Remove dough from bowl, split in half, then form  half the dough into a ball (boule) shape, split the rest of the dough in half and form 2 small round rolls, then dust tops w/ flour, cover w/ plastic and let rise for 45 minutes (1 hour during winter months)

9) Meanwhile,  preheat oven and pizza stone to 450 degrees F

10) When second rise is complete, slash top of boule and rolls w/ a serrated knife

11) Slide boule and rolls onto pizza stone, then mist sides of oven w/ water (I use a spray bottle) and quickly close oven door. For the first 2 1/2 minutes of baking mist the sides of the oven every 30 seconds – this delays crust formation and allows the bread to rise rapidly and evenly

12) After 10 minutes, rotate rolls front to back for even baking and bake for 10 additional minutes. Remove rolls from oven, tap the bottoms; if it makes a hollow sound they’re ready. Leave boule in at 450 degrees for 10 more minutes then reduce oven temperature to 375 degrees F, rotate boule front to back and bake for 10 additional minutes. Tap bottom as you did w/ rolls to determine readiness.

13) Allow bread to cool completely on a cooling rack before slicing

Yield: 1 small boule and 2 rolls (or make one large boule or 4 rolls if you’d like)


It’s gotten cold and snowy here in St. Louis so I’m enjoying baking because it warms up the house. Having fresh, homemade bread around is an added bonus!

Happy Baking…

Bruno

Thanksgiving 2013

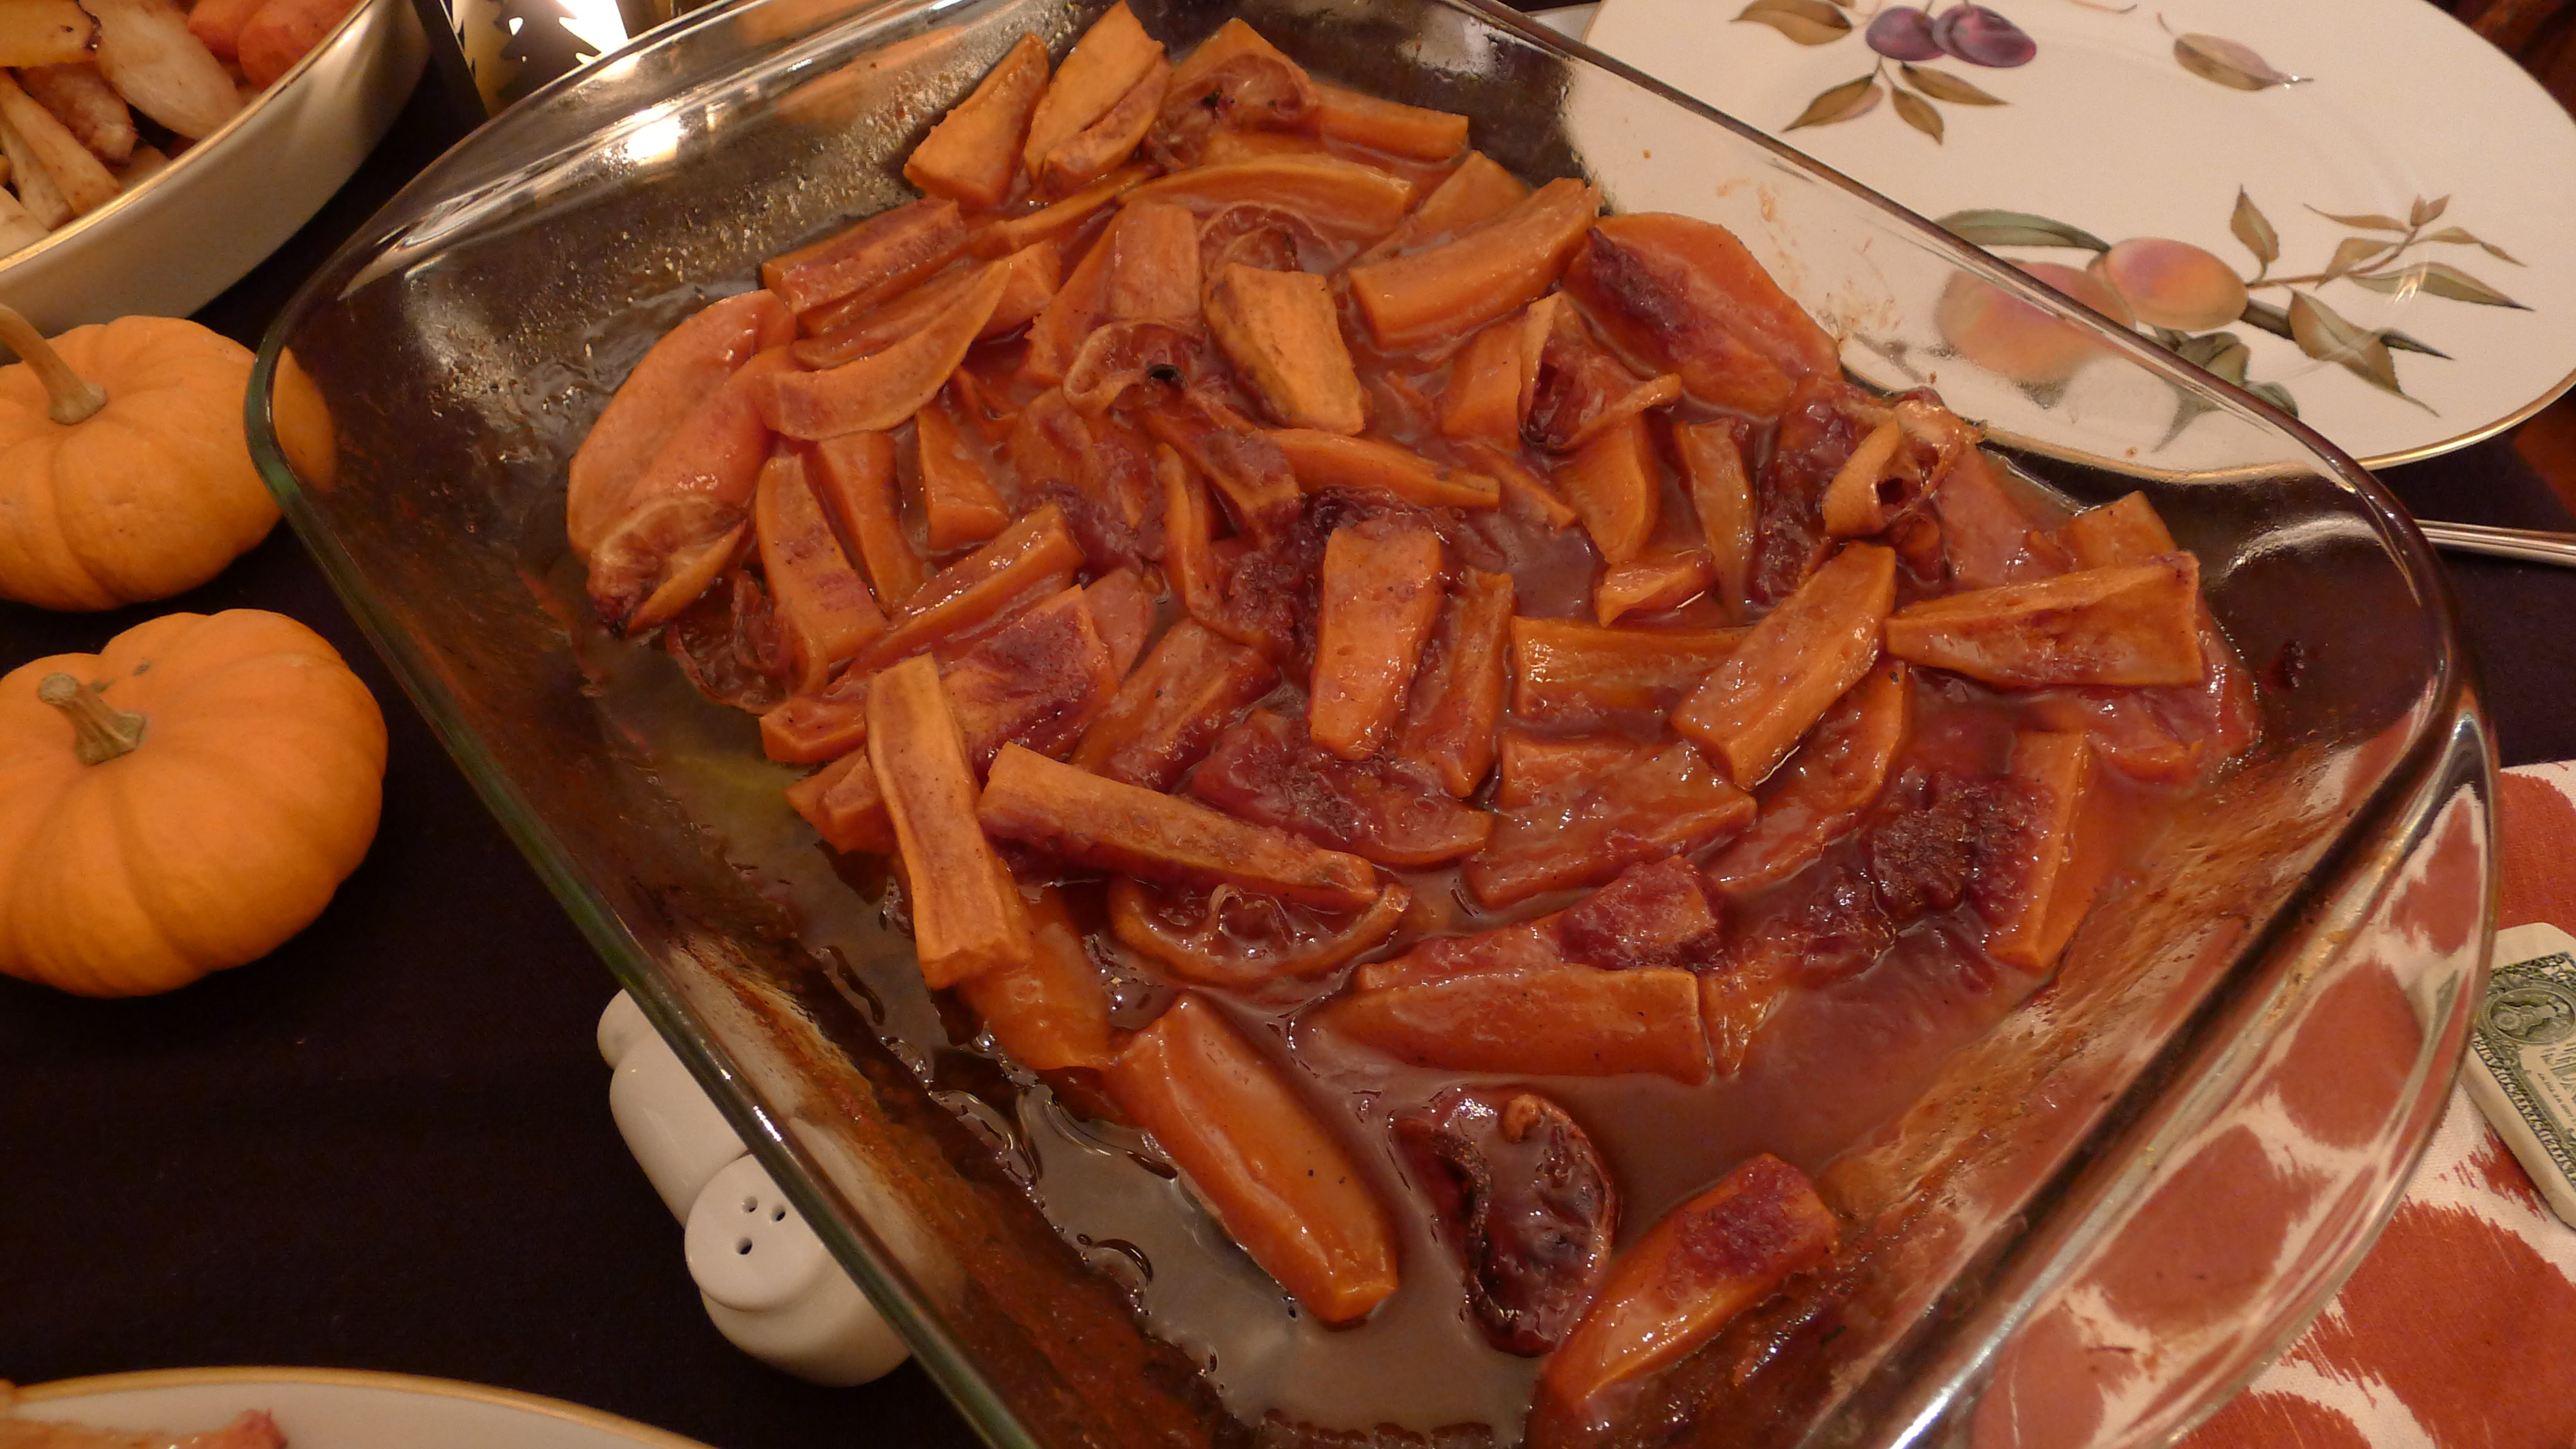
Here are a few photos of the Thanksgiving feast I attended at a friend’s house. I contributed the cornmeal bread as requested. Thanks for your hospitality Pamela!

Turkey

Cornmeal bread

Sweet potatoes w/ lemons

Roasted root vegetables

Carved turkey

Dressing

Fingerling potatoes

I hope you all had a pleasant holiday. I’m thankful for having such a great group of friends!

Bruno

Aerial View of Half Dome

Photo snapped at 2:30 pm Pacific time at an altitude of 30,000 feet while we were descending towards San Jose, California on October 25th. The lighting was just right to create good shadows to accentuate Half Dome in Yosemite National Park.

Happy Hiking (or climbing)!

Bruno

Garden Update # 5 – Here Today, Gone Tomorrow!

What a difference a day (or week) can make. While I was out of town we had our first frost on October 25th. My garden went from green to brown, colorful to drab. As you will see in the photos below, most of the plants didn’t survive the frost and my flowers went from technicolor to no color overnight. I can’t complain. This has been one of the best years I’ve had in my garden despite the not so ideal (cool and wet) conditions. I harvested what remained on the wilted plants – one ripe and many green tomatoes, one tiny butternut squash, lots of habanero and jalapeno peppers and a nice pile of Swiss chard. Thanks Mother Nature!


Goodbye garden. See you next year!

 Bruno

Same Eight Grain Boule, Different Design

I was in the mood for a change, so here’s what popped up! For the recipe, follow this link: Eight Grain Boule 

Happy Baking!

Bruno

Garden 2013 – Update #4 – September Harvest

The 2013 growing season is winding down. It has been a pleasure walking out to my garden this year to check the progress of my babies!

I snapped a few photos on September 7th, the day that most fruit was ripening nicely. The photo of this year’s bounty was taken on September 16th. In that photo there is Swiss chard to the left, ancho, New Mexican and jalapeno peppers in the center and the lone butternut squash on the right. In the background are Speckled Roman, Marvel Stripe, Black Krim and Gold Medal tomatoes.

Still to come are more tomatoes, jalapeno and habanero peppers, and hopefully another butternut squash. I planted more spicy lettuce mix a couple of days ago now that the weather here is cooling off. Looking forward to munching on more garden bounty in a couple of weeks!!

Here are the photos:


Hoping your garden is growing awesomely too!

Bruno

Garden 2013 – Update #3

This has not been the best year in my garden, but it also hasn’t been the worst. Compared to last year though, it’s looking pretty good for productivity. All of the plants seem to be delayed by 3 to 4 weeks due to the cool, wet summer weather. I have fewer and smaller tomatoes, but there are quite a variety of peppers although no habaneros yet. There’s only one butternut squash on the three plants I have growing. The two basil plants are about half the size they were last summer. I’m hoping w/ the hot weather forecasted for the upcoming week that all the plants will thrive! All in all, I must say that I’m fairly happy w/ the way things look at this point… definitely an improvement over last year’s miserable summer!! In looking ahead to next year, I think that I’ll start my seeds earlier so that by the time the ground is warm enough for them to be planted they will be bigger and stronger than they were this year.

Take a look at how things are shaping up right now…

(photos taken on August 23rd)

 Speckled Roman

 Marvel Stripe

Black Krim

 Ancho, New Mexican and Jalapeno peppers

 Caribbean Red pepper

Butternut squash

 Zinnias

 Hummingbird Haven

 Wildflowers

 Herbs

 Black Krim and Caribbean Red

That’s all folks!

Bruno

First Tomatoes of 2013


These beauties are called Speckled Roman tomatoes (harvested on 7/29). Here’s the description of them from the pack of seeds – “Intriguing paste tomato with orange & yellow stripes! Yummy flavor, very meaty, excellent for sauce, canning and freezing.”  I found them to be slightly sweet w/ a light acidity. Pineapple tomatoes are sweeter but they take much longer to ripen. I definitely will be growing these again next year! The prettiest tomatoes I’ve ever grown!! As you can see in the last photo, the interior has a lot of meat and very little juice and seeds. I’m sure they would be great for a sauce, but I prefer just slicing my homegrowns and making a tomato salad or putting them in a sandwich!  

Lovin’ this year’s crop!

Bruno

Lamb and Mushroom Pizza w/ Sourdough Crust

Last night’s dinner w/ friends. Recipe furnished upon request…

May your stomach always be happy!

Bruno