

Workin’ the early bird shift this week, but even the birds weren’t up this early!!
Happy New Year!
“Make sure to save room for dessert.”
Workin’ the early bird shift this week, but even the birds weren’t up this early!!
Happy New Year!

Thinking of bringing something to your friends’ holiday party but not sure what? Well, here’s a treat that is sure to satisfy everyone’s sweet tooth and is fairly easy to whip up. The color is kind of Christmasy too! I made this gelato for Thanksgiving, but I’m sure your friends wouldn’t frown upon you if you showed up at their holiday meal w/ this in hand…
Cranberry Gelato w/ Roasted Hazelnuts
Ingredients: (for cranberry sauce)
12 ounces fresh cranberries
1 cup brown sugar
1 cup water
1 tablespoon lime juice
Procedure: (for cranberry sauce)
1) Place all ingredients in a small saucepan and bring to a boil; maintain at a slow boil for 5 minutes
2) Reduce heat and simmer for approximately 15 minutes until sauce thickens
3) Remove from heat and let cool for 20 minutes; refrigerate overnight
Ingredients: (for gelato)
1/2 cup sugar
6 egg yolks
1 quart half & half
1/3 cup roasted hazelnuts (roughly chopped)
1 1/2 cups cranberry sauce
Procedure: (for gelato)
1) In a metal bowl, whisk egg yolks and sugar until mixture becomes smooth and pale yellow
2) Place half & half in a heavy pot and heat until scalded
3) Very slowly whisk half & half into egg/sugar mixture so as not to curdle the mixture
4) Place bowl w/ mixture over a pot of simmering water, stirring continuously w/ a heat resistant spatula until mixture coats the back of a metal spoon (do not let mixture exceed 170 degrees F to prevent curdling), then quickly place bowl in an ice bath to stop the cooking process and promote rapid cooling
5) In a food processor, blend together cranberry sauce and gelato mixture, then chill in fridge for at least 4 hours or overnight
6) Churn mixture in ice cream maker according to manufacturer’s instructions, adding the hazelnuts when mixture starts to freeze
7) Pour gelato into a 2 quart plastic container, stir to evenly distribute hazelnuts, then place a piece of parchment paper cut to size on the surface of gelato (this will reduce air exposure and prevent ice crystals from forming on the surface of the gelato), seal container and freeze until firm
Yield: Approx. 1 1/2 quarts
Happy Holidays!
The weekend before Thanksgiving I had the opportunity to spend a couple of days in Anguilla while our plane had some fixes done. We stayed at the Cuisinart Resort – yes the same Cuisinart that makes the kitchen products. This property is very unique in that it has a huge hydroponic farm (18,000 square feet) on site to supply most of the vegetables and herbs for the resort’s restaurants. This place was a food lover’s dream! We sampled some of the good eats at the restaurants and I got to take a peek at the hydroponic farm courtesy of the farm’s creator and manager, Howard Resh, Ph. D. . For more information on hydroponic farming click the following link to visit Dr. Resh’s website: http://www.howardresh.com/
Here are a few photos of this beautiful and food-centric resort and the hydroponic farm: (click images to enlarge)
 Tuna four ways: sashimi, grilled, tempura and tartare
 Steak tartare
 Chocolate souffle
 From my room
 Beach
Beach

 The farm

 Lettuce pond
 Under the lettuce
 Herbs
Herbs
 Dr. Resh
 Cherry tomatoes
 Red bell pepper
 Yellow bell pepper
 Orange bell pepper
 English cucumbers
 Seedlings
 Microgreens
 Under the microgreens
 Baby lettuce
 Planting a crop
 More herbs
 Bok choy
 Eggplant
 Basil
Basil
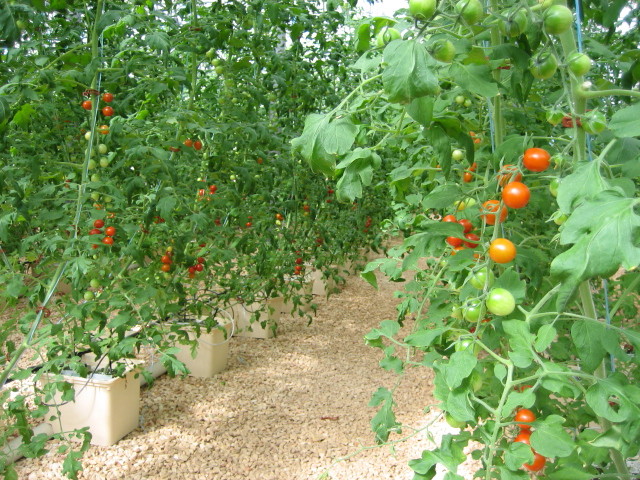 Cherry tomatoes
 Lettuces
 Beefsteak tomatoes
I wish I had a garden like this in my backyard… maybe next year!


If you’re not sure what to bring to your friend’s house for Thanksgiving, here’s an idea. Not as time consuming as some baguette recipes and the results are delicious. If you’re not careful you may eat them all up before you head out to your Thanksgiving feast!!
Sourdough Wheat Baguettes (recipe adapted from King Arthur Flour)
Ingredients:
5/8 cup lukewarm water
1 cup sourdough starter
1 cup wheat flour
2 1/2 cups all purpose flour
1 teaspoon sugar
1/2 tablespoon dry active yeast
1 1/4 teaspoons salt
Procedure:
1) In a large mixing bowl, stir everything together to make a rough dough. Then start to knead (using a stand mixer, or your hands), adding only enough additional flour as necessary; a slack (sticky) dough makes a light loaf.
The dough will probably stick to the sides of the bowl (or your work surface) at first; scrape it off the sides, and continue kneading for about 7 minutes in a stand mixer; or 8 to 10 minutes by hand.
2) Turn the dough into an oiled bowl, cover the bowl and let the dough rise until doubled in bulk, about 90 minutes.
3) Remove the dough from the bowl and divide it into three equal pieces, then shape each piece into a 14 inch long loaf. Here’s how:
Working with one piece of dough at a time, shape it into a rough log. Fold it lengthwise, and use the heel of your hand to press the edges together. Fold it lengthwise again, and again press the edges together; you’ll notice that during this folding process, the dough has naturally lengthened.
Turn the log over so the seam side is down, and gently roll it into a 14 inch long loaf.
4) Place the loaves onto the back of a baking pan lined w/ parchment paper dusted w/ corn meal and dust loaves w/ flour before covering. Cover them gently w/ plastic wrap, and let them rise for 1 1/2 to 2 hours, or until they’re nice and puffy. (I used a couche under the parchment paper to give my baguettes support during the second rise)
5) Towards the end of the rising time, preheat your oven and pizza stone to 450°F.
6) When the loaves are ready for baking remove the plastic wrap and make three diagonal slashes in each loaf, cutting about 1/4 inch deep w/ a serrated knife. Carefully slide the loaves w/ the parchment paper onto the pizza stone. Bake the baguettes for about 25 minutes, or until they’re a rich golden brown.
7) Remove the loaves from the oven and place on a cooling rack. Let cool completely before slicing. (To get the exterior crunchy again at your friend’s house, place in a 325 degree F oven for 4 or 5 minutes)
Eat well, drink well and be thankful for all the goodness in your life!
Picked on October 26th… Would have left them in the garden, but the forecast was temperatures in the 30’s overnight! The oregano was harvested the day before.
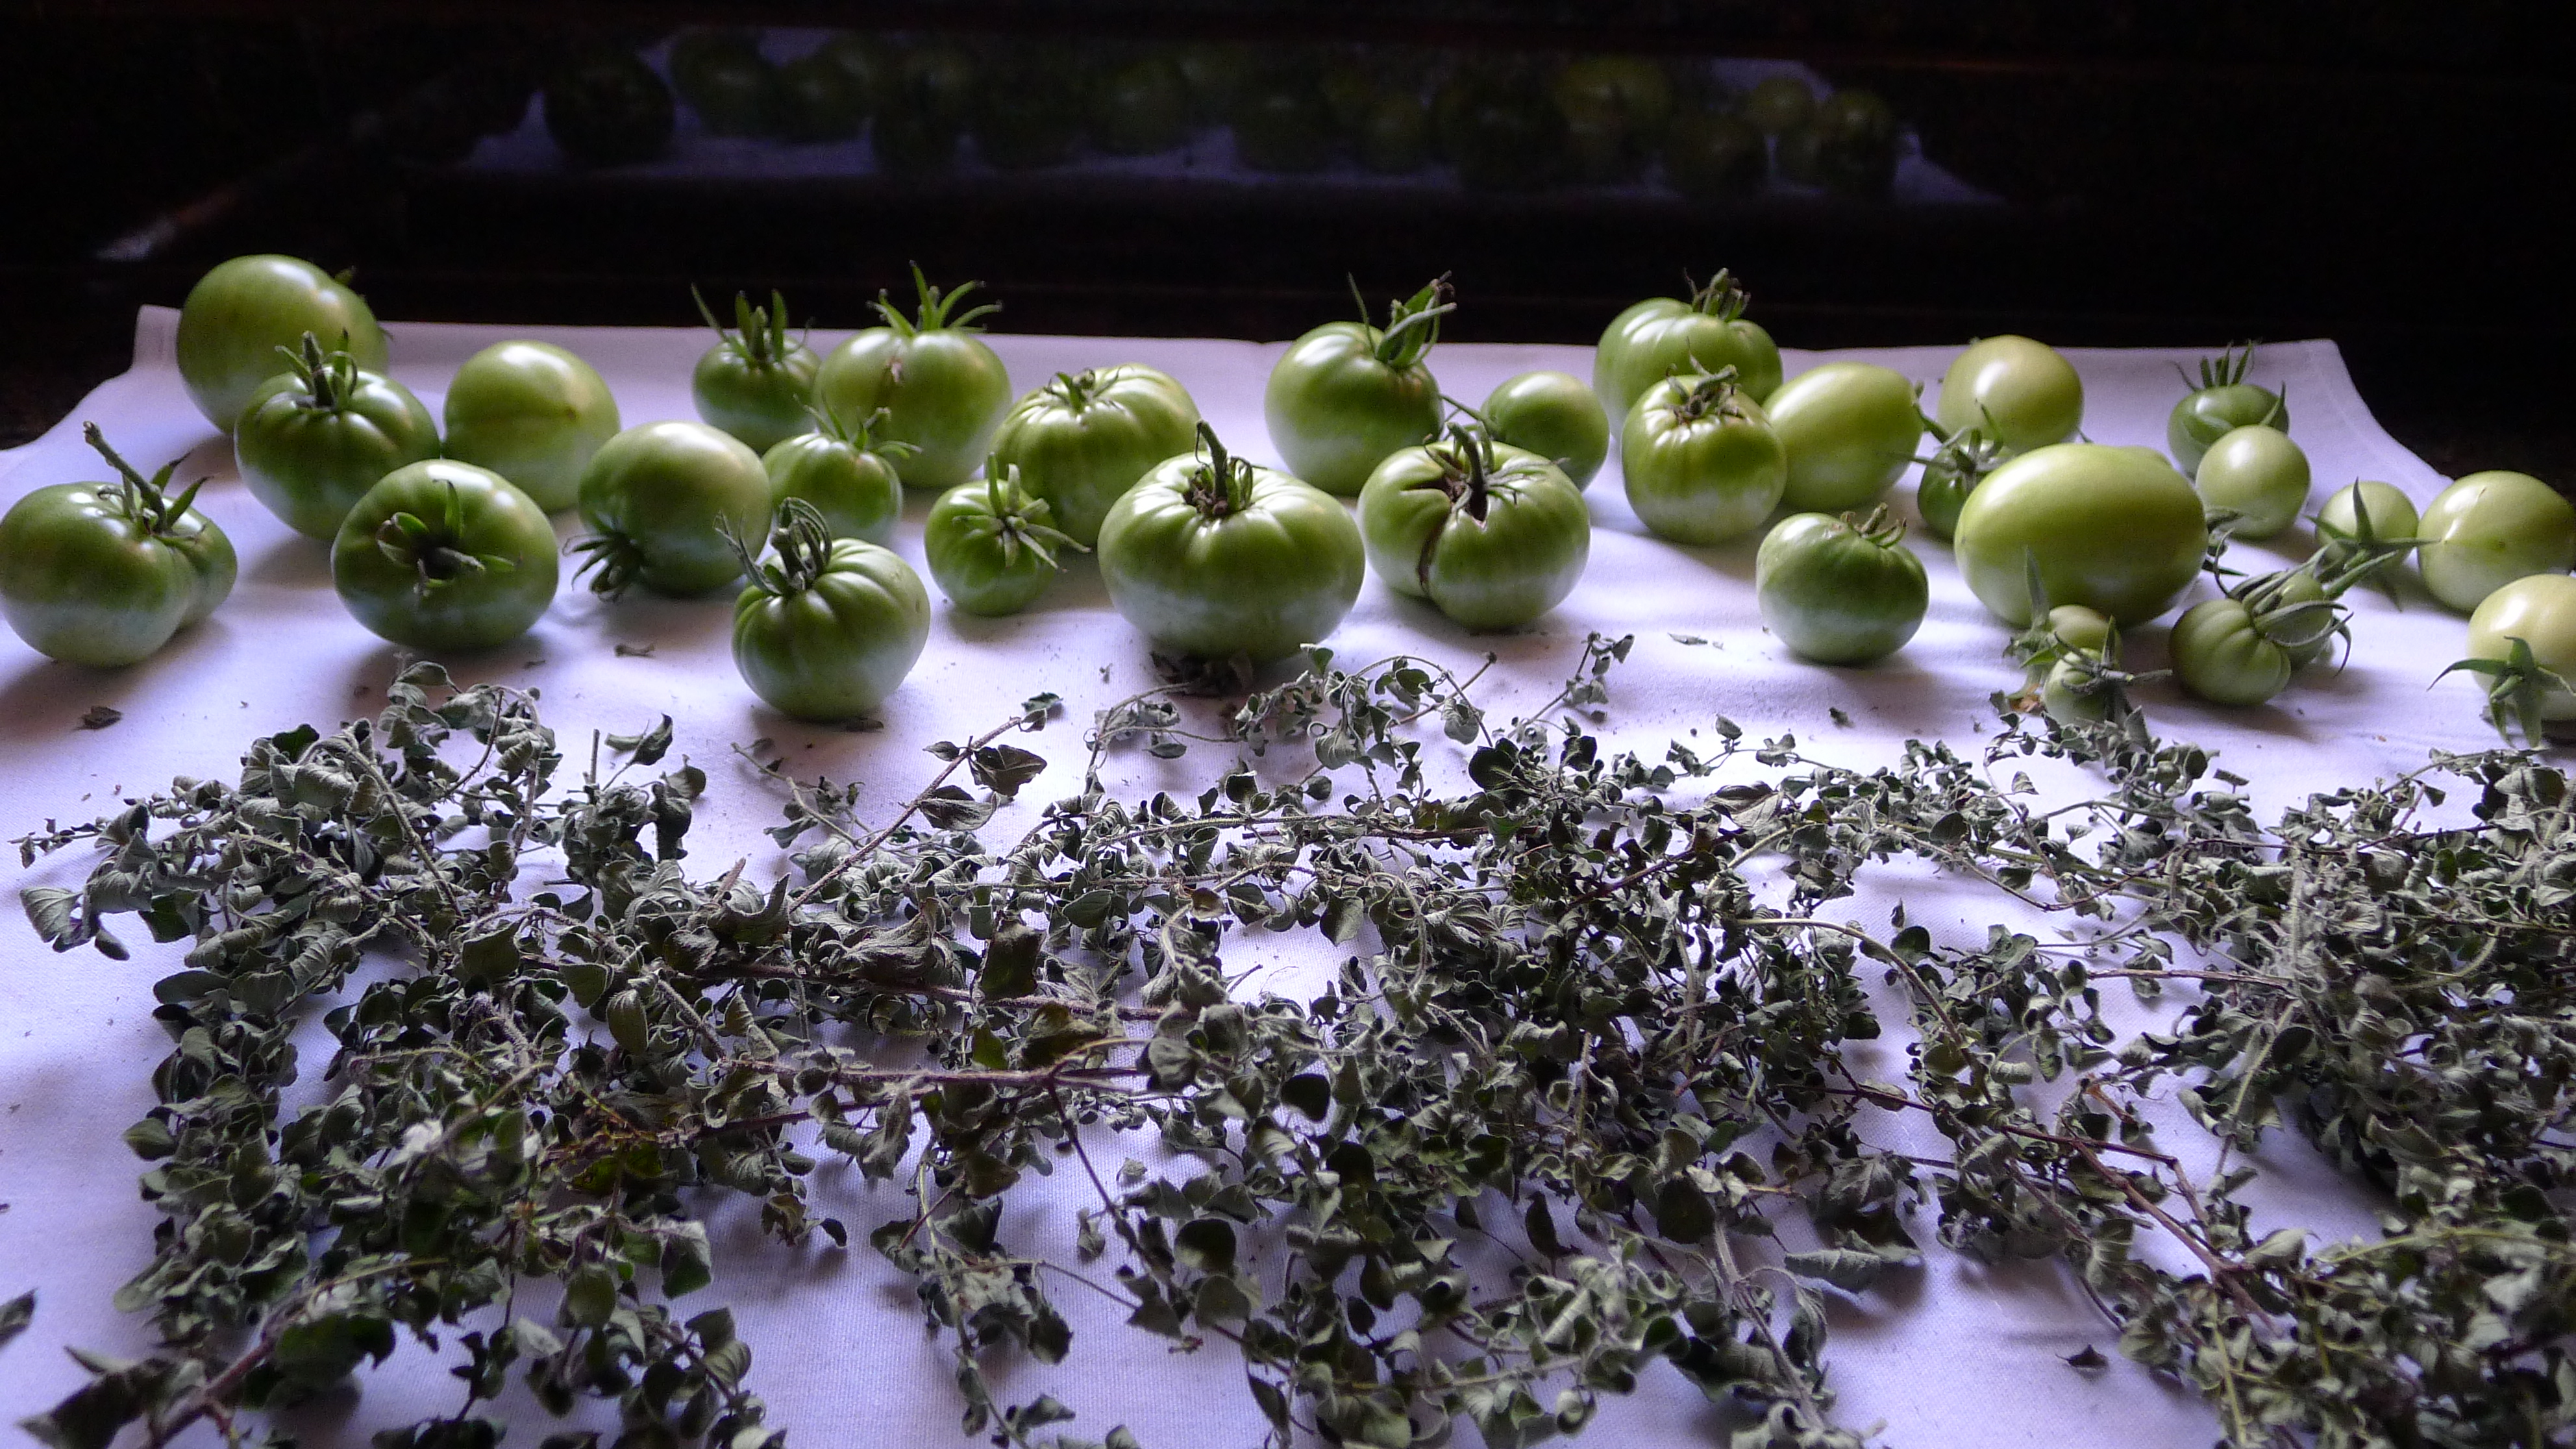
Looking forward to next year’s growing season!


Pesto in a jiffy! My basil rebounded well after the hellish summer temperatures we had here in St. Louis. So happy to have a nice batch of pesto for the fall and winter months. The pistachios in this recipe add an additional layer of flavor and complexity to traditional pesto. Try it and see for yourself!
Basil Pesto (recipe adapted from Simply Recipes)
Ingredients:
6 cups fresh basil (packed)
1 1/2 cups Parmigiano-Reggiano (freshly grated)
1 1/2 cups extra virgin olive oil
1/2 cup pine nuts
1/2 cup pistachios
9 medium sized garlic cloves
salt + pepper to taste
Procedure:
1) Combine the basil in with the pine nuts and pistachios; pulse a few times in a food processor.
2) Add the garlic, pulse a few times more.
3) Slowly add the olive oil in a constant stream while the food processor is on. Stop to scrape down the sides of the food processor with a rubber spatula.
4) Add the grated Parmigiano-Reggiano and pulse again until blended.
5) Add salt and freshly ground black pepper to taste.
Yield: Approximately two 16 oz. jars
Go Green!
Lately I have a lot of sympathy for the small farmers who depend on their produce – it’s their livelihood, not just a hobby like it is for me. The small farmers don’t have crop insurance to cover their loses unless they grow commodity crops. I read an article in the local newspaper that mentioned how the small farmers are trying their best to eke out an income during this drought – replanting after the initial planting died from the heat and lack of water; trying out new plantings that are more heat and drought resistant so the can fulfill their CSA obligations and have a product to sell at the farmers markets.
During the last few weeks the temperatures have normalized here in St. Louis and we are getting rain so hopefully fall crops can be salvaged.
Here are the photos I snapped in my garden throughout this brutal summer (click on the photos to enlarge the image):
Photos from July 20th:


Photos from August 1st:


Photos from August 14th:


Garden bounty from August 18th:

Garden bounty from August 25th:

Photos from September 3rd (after 3 days of rain):


Garden bounty from September 25th:

Hoping for a better growing season in 2013…


My contribution to a friend’s Bastille Day party (we celebrated late). Everyone brought some type of French dish – we had mussels Provencal, coq au vin, gratin of potatoes, the panade, and for dessert, chocolate mousse and a rustic peach tart. You can make the panade a day ahead and refrigerate, then pull out of the fridge an hour before baking to take the chill off… or you can bake it the same day you make it. This dish has great layers of flavors, and to me reflects not only southern French cooking but also the delicious bounty of summertime! I wish I could say all the veggies that went into the panade came from my garden, but I can say that some of the chard did, as well as all of the basil and thyme, and that’s better than nothing!!
Here’s the recipe:
Tomato, Swiss Chard and Onion Panade (adapted from Food & Wine)
Ingredients:
8 garlic cloves – minced
1 tablespoon chopped fresh thyme
4 1/2 pounds Swiss chard – stemmed and sliced 1 1/2 inches wide
1/4 cup extra virgin olive oil
2 large onions -thinly sliced
1 cup dry white wine
3 cups low sodium vegetable broth
1 one pound loaf of good quality crusty rustic bread (a day old) – sliced 1/4 inch thick
5 pounds beefsteak tomatoes – sliced 1/4 inch thick
9 ounces Gruyere cheese – shredded
basil – fresh
salt and freshly ground pepper
Procedure:
1) In a large pot of boiling water, cook chard for 2 minutes then drain. When cool enough to handle, squeeze out the excess water.
2) In the same pot, heat the olive oil. Add the onions and thyme and cook over moderately low heat until softened (about 12 minutes). Add the garlic, chard and white wine and simmer over moderately high heat until the wine is reduced to 1/4 cup (about 5 minutes). Season w/ salt and pepper.
3) Butter a 14 inch diameter x 3 inch deep baking dish.
4) Line the bottom of the dish w/ some bread slices, top w/ some of the slices of tomato and basil leaves then season w/ salt and pepper. Spread half of the chard/onion mixture on top and sprinkle w/ 1/3 of the cheese. Repeat the layering once again. Finish w/ a layer of the tomatoes and sprinkle w/ remaining cheese.
5) Carefully pour the vegetable broth into the casserole and press w/ a large spatula.
6) Cover the dish w/ foil and place in the refrigerator overnight.
7) One hour before baking, remove the casserole from the refrigerator.
8) Preheat oven to 400 degrees F.
9) Loosen the foil on the casserole and bake in the upper third of the oven for 45-50 minutes, then remove foil and bake for another 10 minutes until the cheese is slightly browned. Remove the casserole from the oven and let rest for 10 minutes before serving.
Yield: 8 to 12 servings
I think Julia Child would have enjoyed this French dish to celebrate her 100th birthday. I hope her and my mom cook this together in heaven someday. I think they would have enjoyed each other’s company and love of French cooking.
Bon Appetit!
P.S. – With this newer version of WordPress you can once again click on the photos to enlarge the image.
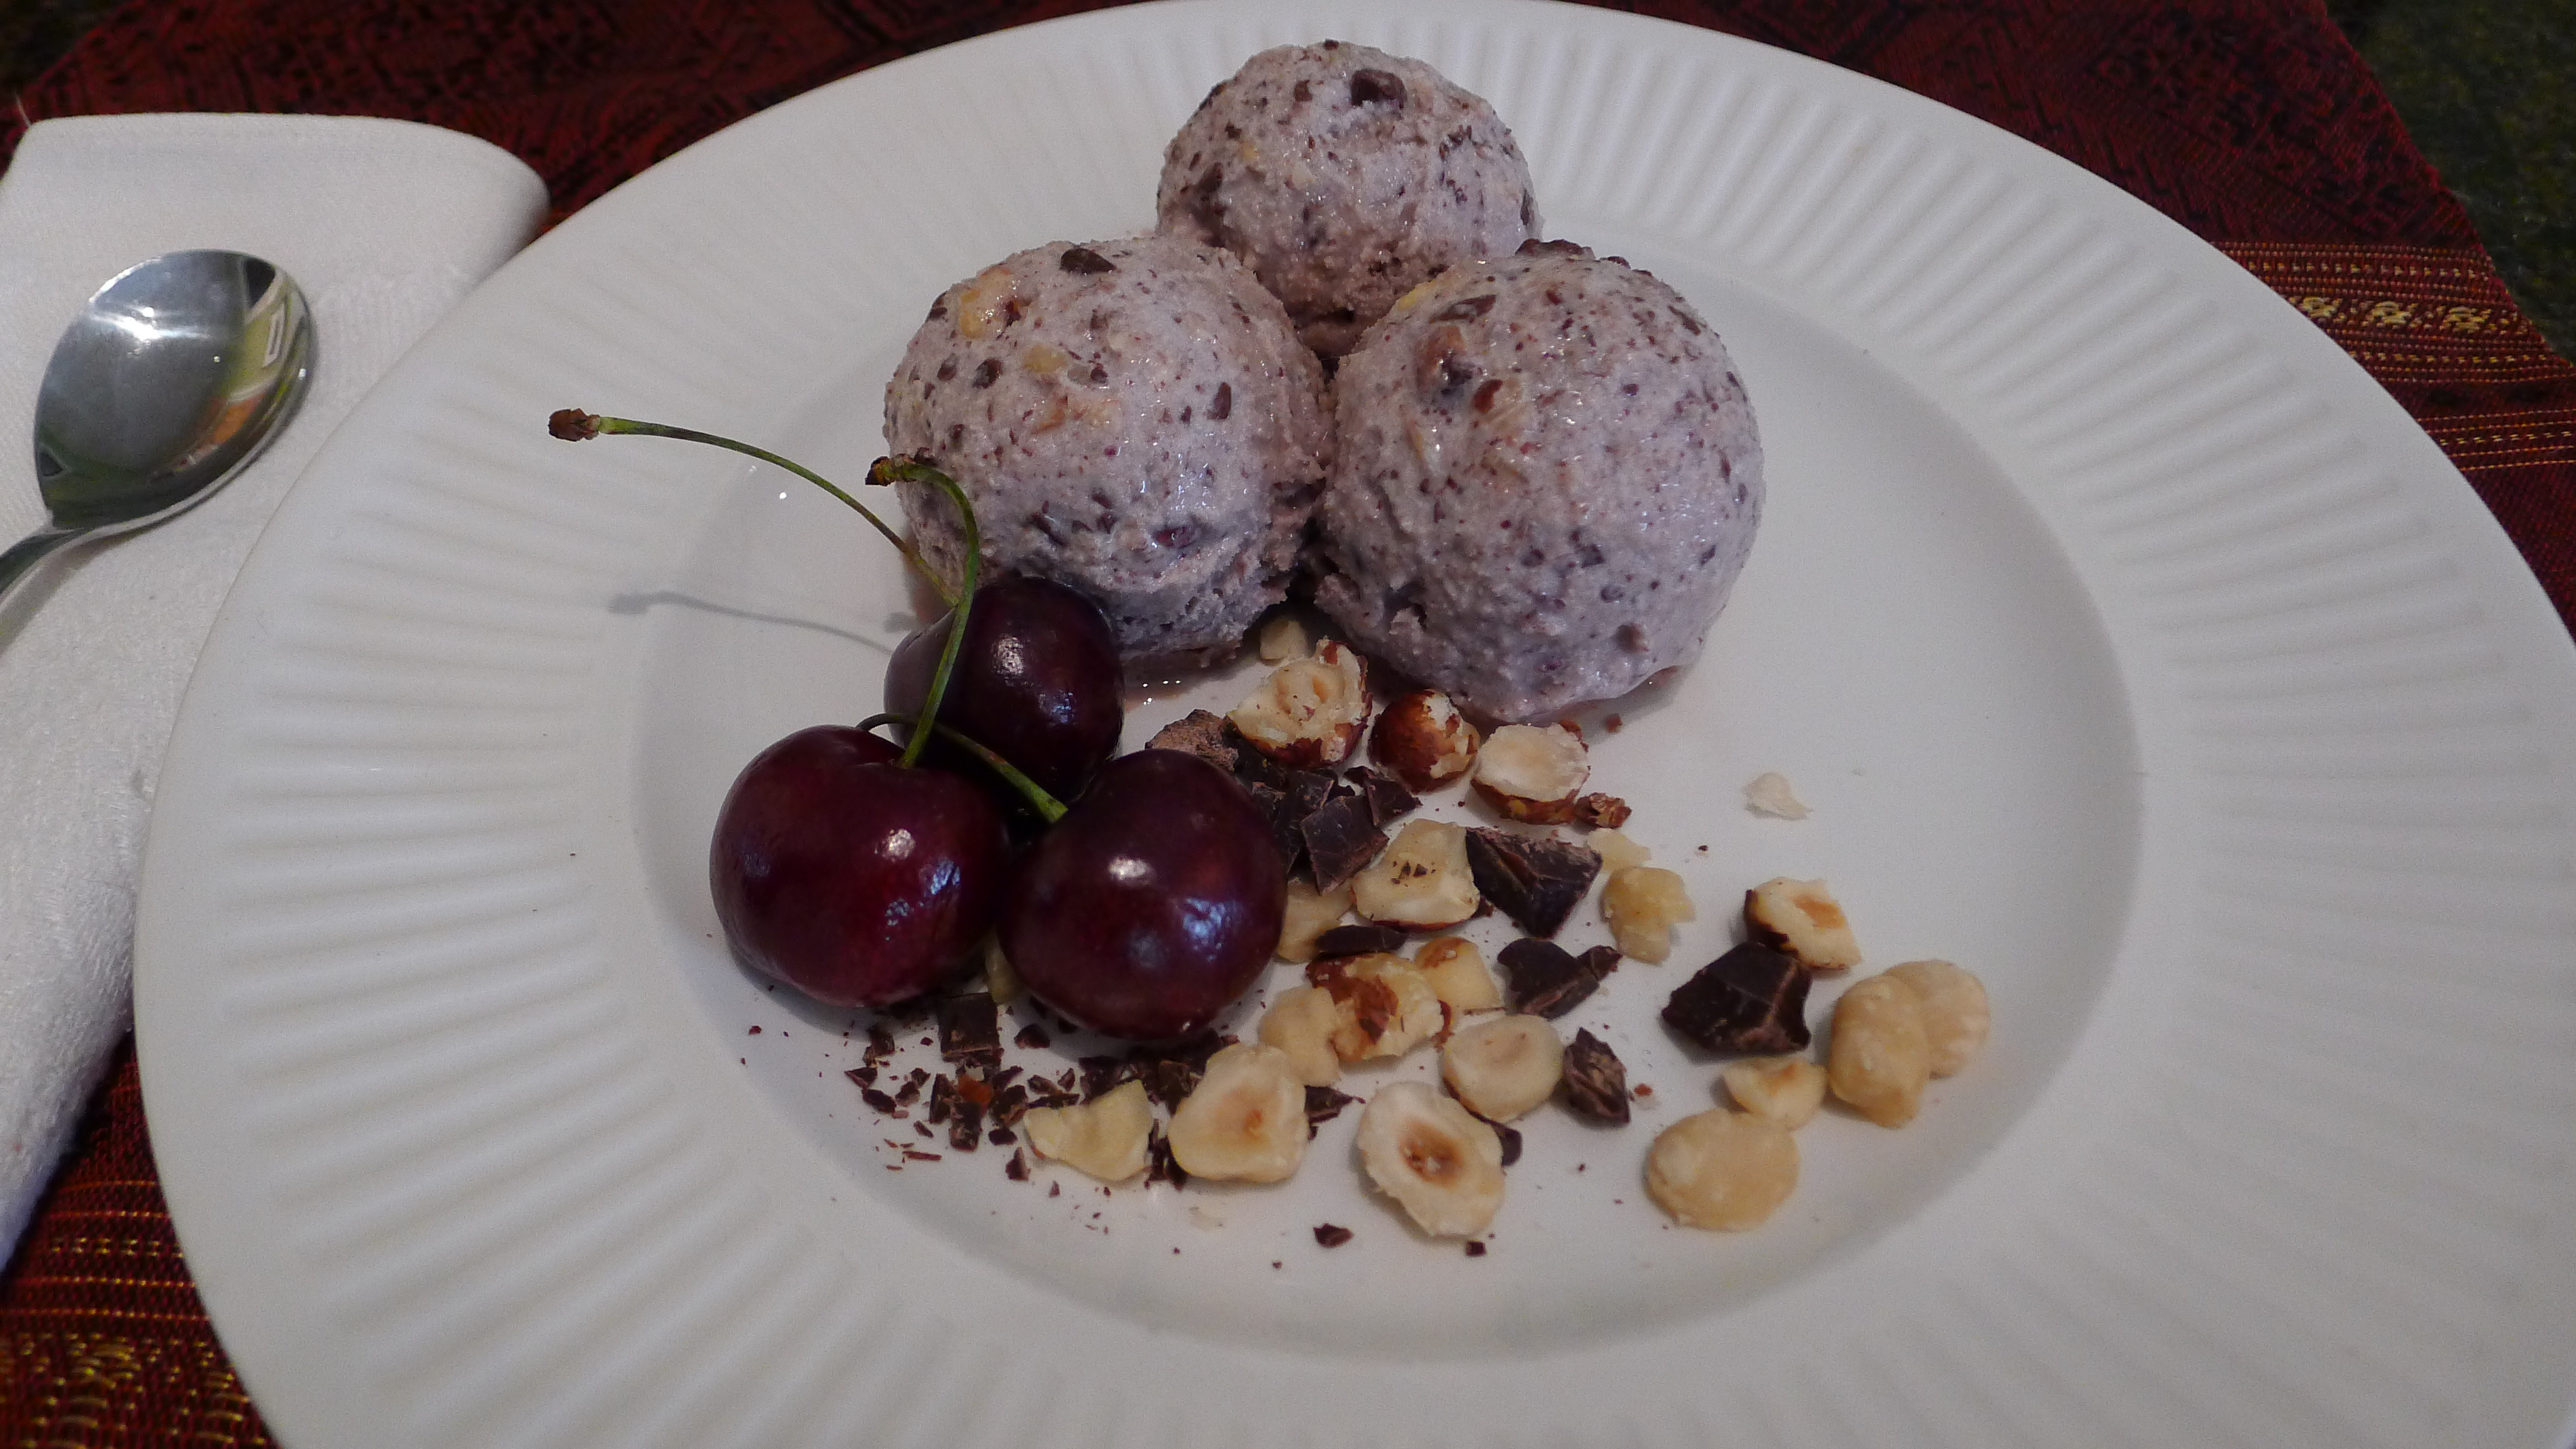
‘Tis the season… for gelato!! Especially since it’s blazing hot here in port St. Louis. We’ve had ten days of temperatures over 100 degrees F in June/July and the forecast is calling for temperatures over 100 degrees in the upcoming week! I would say it’s time to dust off the ice cream maker and start making freezing cold desserts!!
One of my favorite fruits is sweet black cherries. They’re now in season and in their honor here’s a tasty gelato recipe. Gelato is also a super delicious treat when the sweltering heat has you craving something cool. Your friends and family will love you that much more when you share this scrumptious seasonal dessert w/ them!
My taste testers enjoyed this flavor, however next time I make it I’ll make some minor changes. Depending on which ingredient hit your tongue first (i.e., cherry, hazelnut or chocolate), that was the initial predominate taste. In order for the cherries to be the dominate flavor, I will reduce the amount of chocolate to 2 1/2 ounces, and the hazelnuts to 1/3 cup.
Here’s the original recipe:
Cherry Gelato w/ Dark Chocolate and Roasted Hazelnuts
Ingredients:
1 pound black cherries (pitted)
6 egg yolks
3 1/2 ounces dark chocolate (roughly chopped)
1/2 cup roasted hazelnuts (roughly chopped)
3/4 cup sugar
1 quart half & half
Procedure:
1) In a metal bowl, whisk egg yolks and sugar until mixture becomes smooth and pale yellow
2) Place half & half in a heavy pot and heat until scalded
3) Very slowly whisk half & half into egg/sugar mixture so as not to curdle the mixture
4) Place bowl w/ mixture over a pot of simmering water, stirring continuously w/ a heat resistant spatula until mixture coats the back of a metal spoon (do not let mixture exceed 170 degrees F to prevent curdling), then quickly place bowl in an ice bath to stop the cooking process and promote rapid cooling
5) Cut cherries in half, place in a food processor and puree; stir puree into the gelato mixture, blending well, and chill in fridge for at least 4 hours or overnight
6) Churn mixture in ice cream maker according to manufacturer’s instructions, adding the hazelnuts and chocolate when mixture starts to freeze
7) Pour gelato into a 2 quart plastic container, stir to evenly distribute hazelnuts and chocolate, then place a piece of parchment paper cut to size on the surface of gelato (this will reduce air exposure and prevent ice crystals from forming on the surface of the gelato), seal container and freeze until firm
Yield: Approx. 1 1/2 quarts
Celebrating summer… just wish it wasn’t so damn hot here!
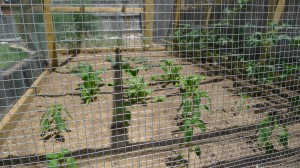
Things are popping up nicely in the garden this year! It’s amazing how much the plants have grown in the past two weeks. I’m very pleased w/ the current status of my garden, especially in comparison to last year at this same time. The following link will take you to the post I did around this time last year so you can see for yourself. The only things that were doing better last year were the zinnias. As w/ everything else this year, the zinnias were started from seeds. They are forming flowers so it won’t be long before I get the bursts of color they provide to my yard all summer long. In the veggie garden this year I have 12 tomato plants (4 pineapple, 3 black krim, 3 yellow brandywine and 2 yellow tomatoes), 6 butternut squash plants, 4 jalapeno, 2 New Mexican chile, 1 ancho chile and 6 Swiss chard plants. The herb garden has a new location which provides more space and more sun. Due to the mild winter we experienced in St. Louis, my rosemary plant survived (a first since I moved to this house seven years ago!). Also new this year is another butterfly bush added to the wildflower garden and wisteria (which you will see in the photos). The plan is to attract more butterflies and bees to the yard to pollinate the vegetables. Although it’s been hot and very dry, everything is thriving due to my new watering regimen (1 hour daily early each morning). Also, I finally have piece of mind that my veggies will not become food for the local squirrels and rabbits thanks to my new garden enclosure (definitely lovin’ it!!). However, it seems that the resident rabbits have developed a liking to the type of zinnias I put in this year (Hot Crayon Cutting Zinnias). They’ve eaten the leaves off 5 of the plants so I’ve begun applying Bobbex… so far so good!
The following photos were taken on June 20th:
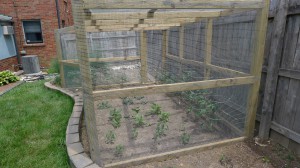
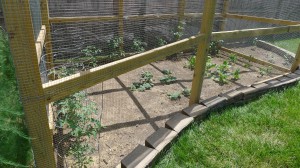

Rabbit-eaten zinnias and what’s left of the asparagus

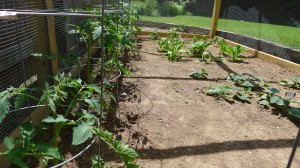
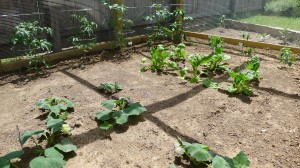
Left to right: butternut squash, chard, and hot peppers w/ tomatoes in background

New home for the herbs and wisteria (next to trellis)


Herbs (clockwise from top left): basil, oregano, rosemary, chives, sage, lavender, tarragon and thyme

Wildflowers
Wishing everyone a Happy Summer and a successful gardening season!